Last month I shared my excitement about finding a Kick-Ass Cell Phone Mount and USB Charger for only $20 on Amazon. I finally took some time to install it, with a little help from my neighbor’s kid. Here are some thoughts about the cell phone mount and usb charger, along with some a walk-through of the installation on my 2006 Harley-Davidson VRSCD V-Rod Night Rod.
Reminder
In this article I’ll tackle some of the feedback I found on Amazon. As always I’ll be looking at both the positive and the negative to determine if the product lives up to the hype, and whether the reported short falls are due to product failures, or user errors.
Lastly, I’ll be including some step by step pics on how I installed this cell phone mount and USB charger to my Harley-Davidson V-Rod. If you have another motorcycle this should give you a pretty good idea how to handle it.
Thank you, eManualOnline
Now that that’s over with, I want to give props to Alec at eManualOnline.com. These guys have a huge selection of car and motorcycle service manuals, even for bikes such as my 2006 Harley-Davidson V-Rod, and much older ones as well. I also got a manual for my Jeep Patriot Limited 4×4 from eManualOnline as well, so if you’re looking for a service manual / shop manual for your vehicle at a fraction of the price, check them out.

Note: These guys do have an affiliate program, but I do not participate in it. That means I get no compensation whether or not I share their site and whether or not you buy anything – BUT – they have a lot on their site, so check them out if you’d like a manual for your bike or car.
Installation on a V-Rod
After going through my new service manual pdf, I got started by lifting up the seat and removing the one bolt that keeps my V-Rod’s air box cover (the fake gas tank) in place.
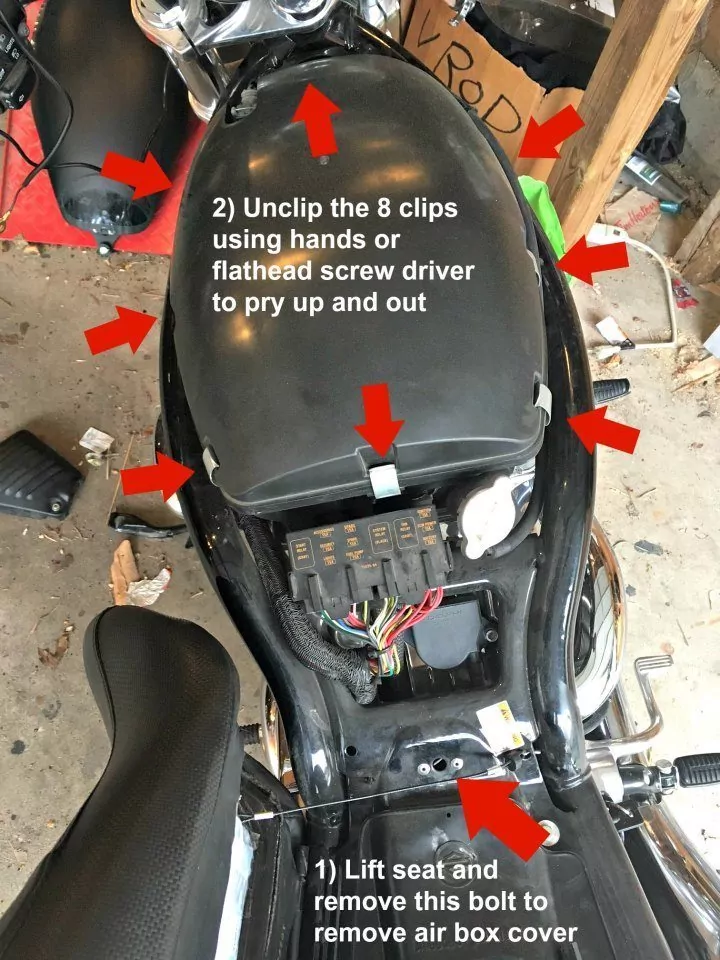
Once you’ve unclipped the 8 clips that hold the next cover in place, disconnect the O2 sensor and unscrew the, uh, spinny-thingy, to continue.
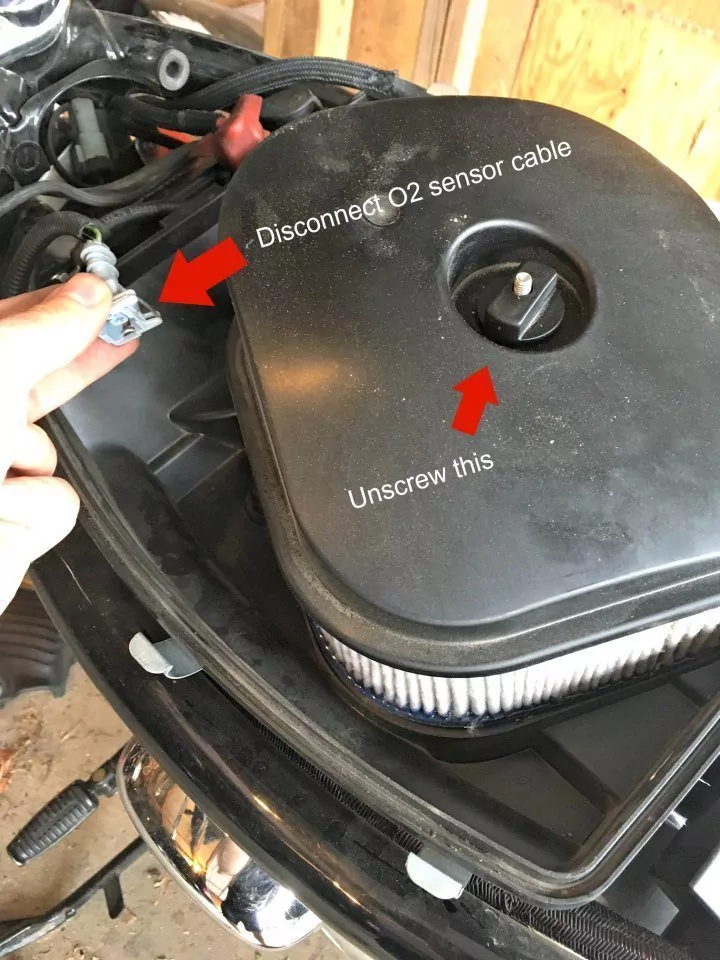
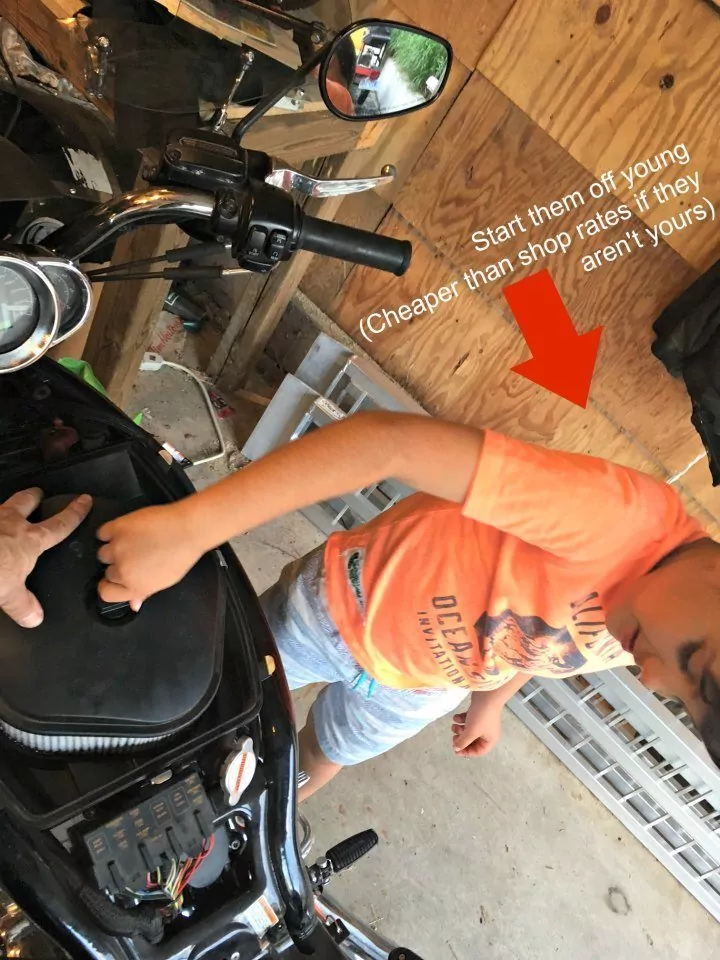
If you’re doing this project with your neighbor’s kid in your garage, like I was, now is a good time to ask them to twist the throttle to show them how the velocity stacks open and close to let air in to the bike. Now is also a great time to clean or replace your air filter, or upgrade to one of these performance air filters for a boost to your V-Rod’s power.

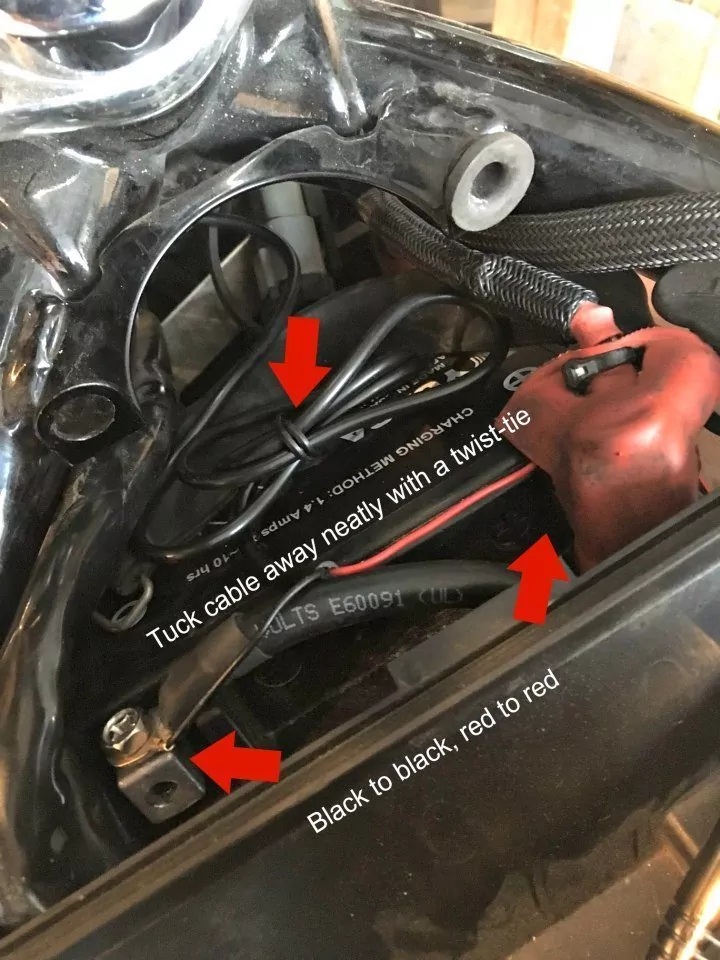
Remove the negative battery connection first, then the positive next. Next put the rings from the cell phone mount and usb charger through the bolts when you reconnect the battery, black to black, red to red. This time you’ll go positive (red) first, then black. To get my cables this far I removed the vented grill at the front of the bike (not shown) and ran them through there.
After that, test it out. The Kick-Ass Cell Phone Mount and USB Charger that I recommend has an On/Off switch which has a little light up LED. That should tell you whether or not it’s working, but go ahead and fire up your bike and charge your phone anyway.
Then, if you’ve had your neighbor’s kid watching you this hole time (congratulations if you’ve made it this far without swearing), go ahead and make them put your motorcycle back together for you. Careful though, it’s still a Harley. Even that thick paint can still get scratched.
The total project time was under an hour, with most of it going towards trying to get the battery bolts to fit back in the terminals. Things are tight in there! Support under the battery nut to help!
Budget three hours for this job so that you can take the last two hours for “testing” and go out for a ride! Any excuse to be out on two wheels, am I right?
Feedback from Amazon
“I took this on a 5 hour round trip this past weekend and my phone never budged even at 90mph.”
Verified. This is definitely a sturdy feeling kit. It even comes with an extra wrap around elastic piece not shown in the pictures on Amazon, which makes it impossible for the phone to come off of your mount.
“I use an iPhone 6 Plus with a big otterbox and it fits perfectly!”
Unverified. However, it did fit a phone as small as my iPhone SE (same size as iPhone 5/5c/5S) without issues.
“Fit and finish not as good as the RAM mounts but good enough to enjoy the price savings without sacrificing functionality.”
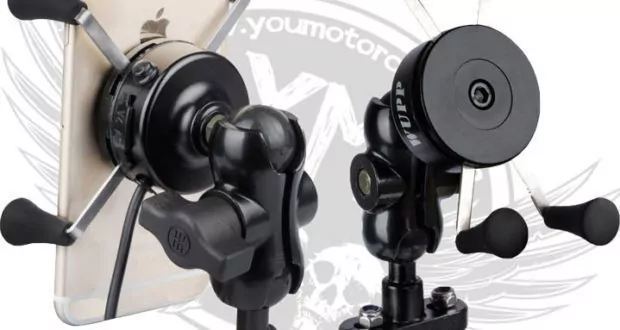
Arguable. I didn’t take issue with the quality of the product, but I did opt to use some RAM parts (you can use them for anything) simply for phone positioning, as mentioned. I think any difference in quality isn’t enough to impact use of the product.
“Works as it should put it to a 100 mile ride test on my bike it’s rock solid the only thing I don’t like is the power wires are too short.”
Arguable. As you could see in my pictures, I had extra cable tied up. However, most motorcycles do not have the battery in the front, as the Harley-Davidson V-Rod does. Some bikes, perhaps larger, touring motorcycles, may have some issues with the cable length.
My Own Feedback
For $20, this is a great product, especially for rides out of town. You won’t use it on your commute to and from work, unless you need to charge your phone while you ride. Where you’ll really be happy you invested the time is when it comes time to go some place you’ve never been before. Moreover, this cell phone mount and usb charger holds up really well even left outside in the rain.
Where to buy it:
USA: Get it right here for only $20.99. If you’re not already an Amazon Prime member I highly recommend it as you get free two-day shipping and the service basically pays for itself along with giving you a variety of other perks (a video service similar to Netflix, a music service similar to Google and Apple’s, and more). Clicking on any of the pics will take you to the product on Amazon as well.
Canada: Canadians pick up similar at this link for $29.99 CAD (roughly $22 USD) right here. Again, with a Prime membership you get a ton of perks, including free two-day shipping, so consider going that route as well.
 It’s only $20!