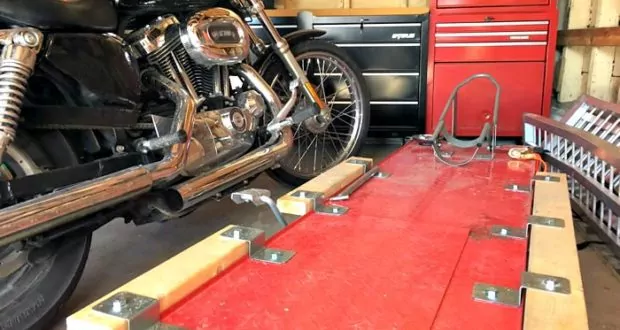
Motorcycle lift table side extensions can make working on your motorcycle easier and safer. They turn the chores of maintenance into a comfortable, even enjoyable activity. With a table lift, you’ll no longer have to work on the floor, bent all out of shape, struggling to get to those hard-to-reach places. But with side extensions on your lift, you won’t have to push your heavy motorcycle. You’ll be able to ride it right up.
Side extensions (or foot extensions) for your motorcycle table lift are an easy DIY project that allows you to ride your bike on and off of the lift, instead of having to push. When paired with a wheel chock, this quick table lift modification allows you to get your bike on and off in seconds.
The entire cost of the project was about $75 USD ($100 CAD). The entire project is based on this motorcycle table lift from Amazon ($460 + free shipping), which is virtually identical to the motorcycle table lift sold by Harbor Freight. It was done entirely without a welder.
UPDATE: After two years, I just put together a lengthy review on what might be the best motorcycle table lift for your dollar. Check it out.
Shopping List
Motorcycle table lift – Qty. 1
2×4 x 6′ – Qty. 2
1/2″ x 2-1/2″ hex bolts – Qty. 8
1/2″ x 1″ hex bolts – Qty. 8
1/2″-13 stop nuts – Qty. 16
1/2″ flat washers – Qty. 8
Z-Shaped deck joist tie – Qty. 8
Note: This quantity is based on having a foot-activated pump on one side. It’s only a recommendation.
This is not an “expert-opinion” piece and I am not an engineer. Follow these motorcycle lift table side extensions directions at your own risk. It’s a simple task. You can probably just use your own common sense.
Tool List
Hammer drill
Wrenches / socket wrenches
Saw / mitre saw
NO WELDER

DIY Motorcycle lift table side extensions – Instructions
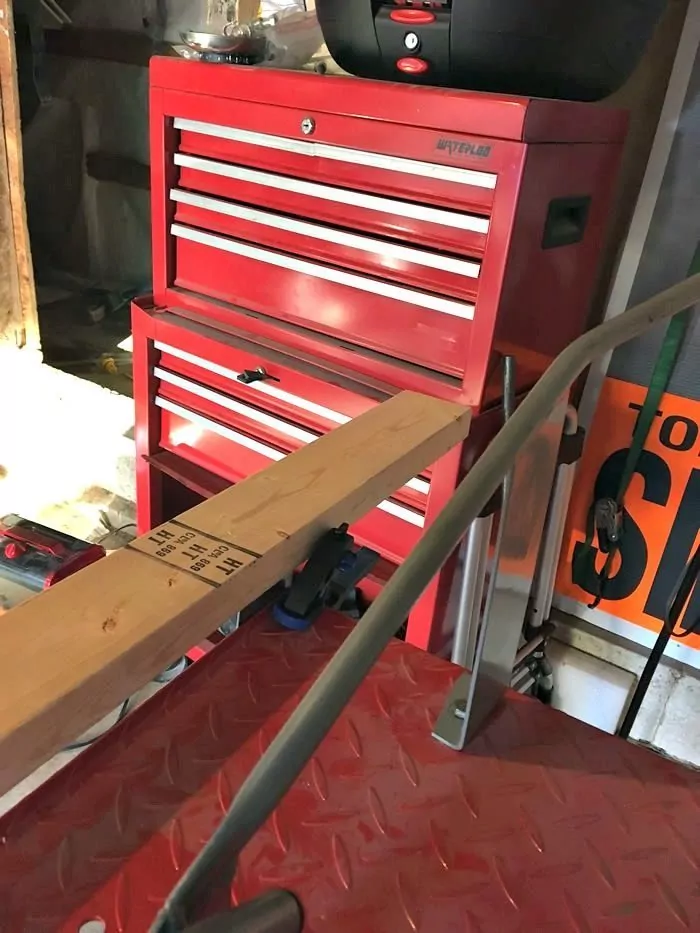
Step 1 – Mark the lengths of 2×4 you’ll need. Measure and cut to size.
Notes:
- You should also measure where your bike will be sitting on the lift. To do so, sit on your motorcycle on flat ground and have a friend mark the front and back of your tires with chalk, as well as outline where your feet rest. Measure the distances and make sure that these will fit on your table lift.
- If you have foot activated controls (found on non-air powered lifts) you’ll need to leave clearance for your feet and legs to access the controls.
- If you don’t have an extra set of arms, or even if you do, you can use some clamps to hold the 2×4 in place while you measure and make your cut marks.
- Remember, the 2×4 doesn’t need to reach the front of the lift, as your feet will never go that far forward.
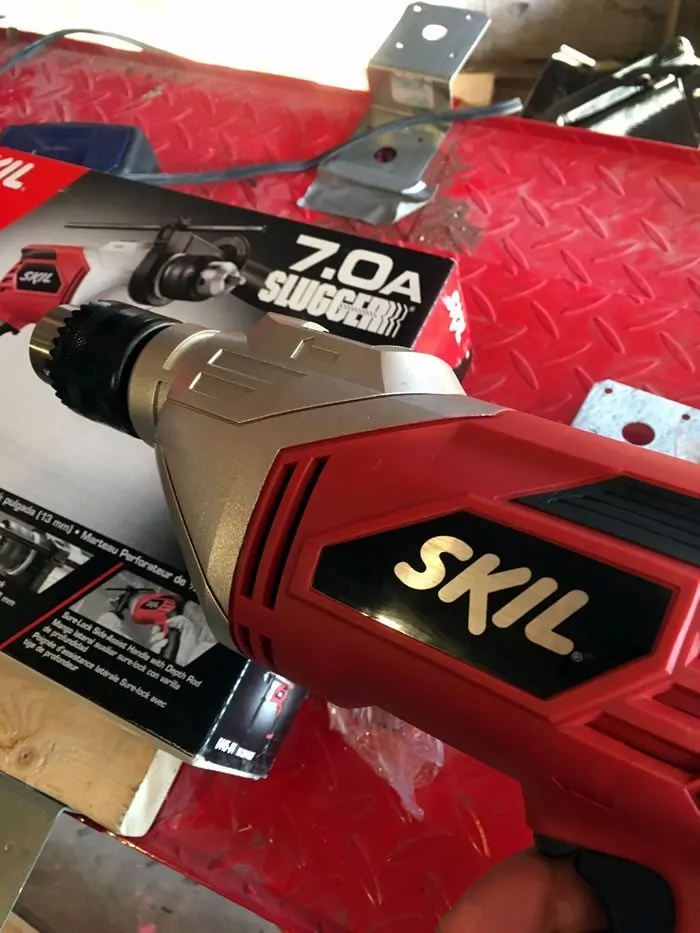
Step 2 – Drill holes in table lift and in 2×4
Notes:
- You may be able to drill through with a regular electric drill. I used this $46 Skil hammer drill with a regular drill bit instead.
- First drill through with a smaller sized bit before going up to the 1/2″ sized bit.
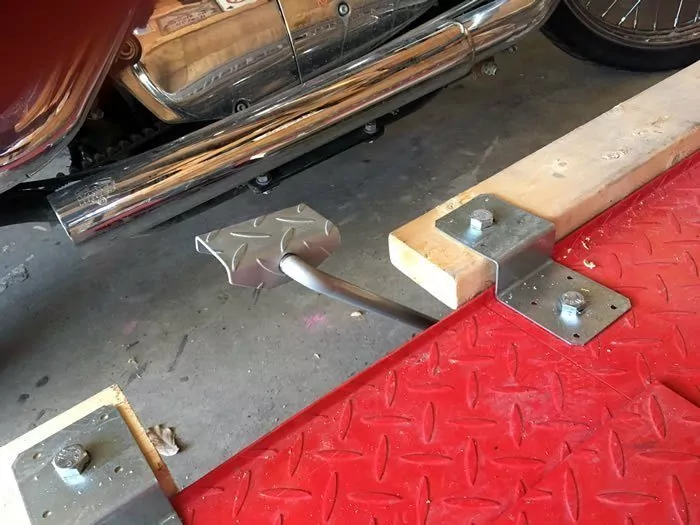
Step 3 – Install Hardware
Notes:
- Bolt the Z-Shaped deck joist ties to the table with the 1″ bolts and nuts.
- Position them so that any pressure down on the ties would be supported by the table’s lip.
- Bolt the 2×4 to the underside of the overhanging joist tie with the 2-1/2″ bolts and nuts.
- Position them so that any pressure down on the 2x4s or ties would be supported by the 2×4 pushing against the side of the table lip.
Additional Tips:
Use Straps
If you have anything less than a good quality front wheel vise on your lift, use at least two straps to help hold your bike vertical. The front wheel vises that come with the less expensive lifts (like this one or the one Harbor Freight sells) don’t do a good job at keeping the bike steady.
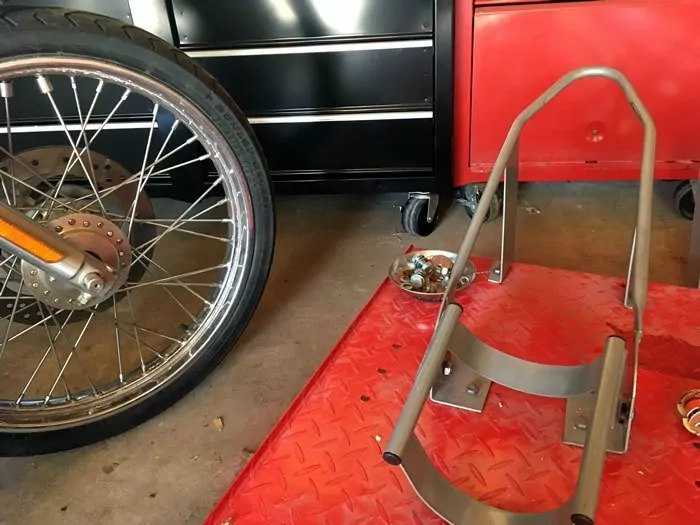
Add a wheel chock
A motorcycle wheel chock is the perfect accessory to your DIY motorcycle table lift side extensions. The chock will keep your motorcycle fully vertical and stable, without the need for a kickstand or center stand. You can use it with or without straps, but I suggest with. They can be found on Amazon for as little as $40.
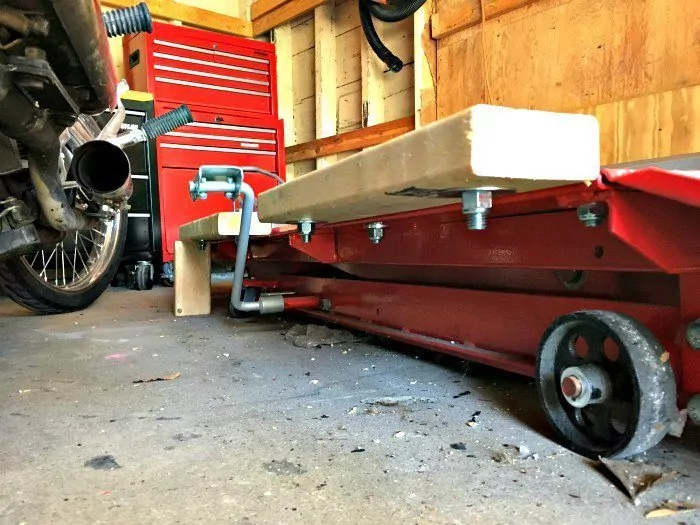
Cut wood to size for additional support
If you’re heavyset, or just want to add a bit more support, cut a wood block to fit between the floor and the underside of the 2×4 side extension. This will eliminate any play or flex. It will also stop the joist tie from wearing out with time.
That’s it!
With the right tools, the project took about $100 CAD ($75 USD) and a few hours of my time. Time that I’ll save comfortably and confidently loading and unloading motorcycles on and off of my lift by myself.
This isn’t the prettiest of side extensions, but I challenge readers to build more structurally sound extensions without using a welder. If you do your DIY motorcycle table lift side extensions like mine, or differently, contact me! I’d love to see how it worked out. You can also leave a comment below.
If you found this article useful, you might also be interested in how I modified my Harbor freight trailer be better suited for hauling motorcycles all over Ontario:
Harbor Freight Folding Trailer Tips & Tricks
Harbor Freight Folding Trailer Tips & Tricks – Part 2
Thanks for sharing this post, keep it up.
Thanks for this great post, I find it very interesting and very well thought out and put together. I look forward to reading your work in the future :)